Update: Please read the update section on the bottom of the article for additional technical details and warnings and Microsoft’s response.
Coming back to the world of Windows after years of working on macOS was a jarring experience, made especially so by the mess that is Windows 10.
Windows 10 is like a big and beautiful mid century modern house. But if you look a little close you soon notice that the strong and distinctive lines look a little off, and there is something lurking underneath. Then one day you accidentally step where you shouldn’t have, your foot falls through the floor. Upon further inspection you quickly realize that this modern beauty is built upon the skeleton of an actual mid century house, one poorly constructed decades ago. And as you dig deeper, you soon discover that the whole thing stands on the foundation for a shack erected around the turn of the previous century.
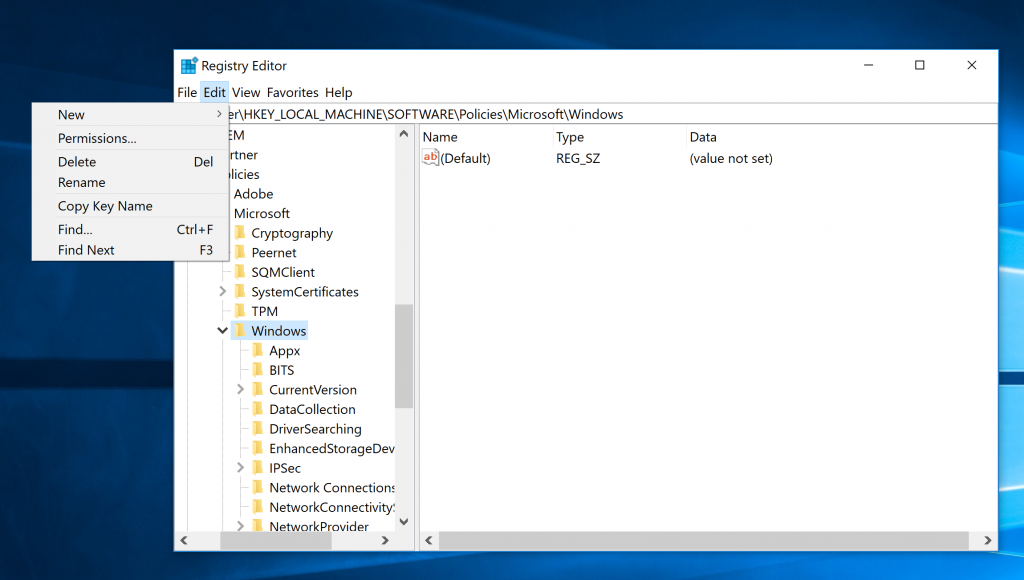
Windows 10 sure looks nice, and works well, when it does, but as soon as you need to configure something more serious on it, you quickly start falling down the rabbit hole. Before too long you are looking at the Win+R menu from Windows 95 and RegEdit program of similar vintage with the top menu that inexplicably opens to the left.
But I know what you are going to say: “It works! Who cares what it looks like underneath, it works! God damn it, it works!” Ahh, but that’s where you are wrong. It doesn’t work!
1803 Update Failure
Generally I am not the type of man to update my stuff as soon as the latest and greatest, barely tested alpha quality “beta” of the latest operating system rolls out. I am still on macOS 11.6 (I refuse to call it 10.11.6, it’s time to drop the damn 10, Apple). My iPhone is still rocking iOS 10, because who has time to re-jailbrake. And I would have been quite happy with a HiDPI capable Windows 7, if that was an option on my Dell XPS 15 9550.
However, with Windows 10 you no longer have the luxury to easily decline or only manually perform Windows updates. It forces them on you, sometimes in the most inopportune time.
Last week, out of the blue the laptop decided to show me the blue update screen for 30 minutes in the morning when I needed to use it. So, I thought to myself, enough is enough. After finally booting I went to the Setting, Updates, and clicked update now to get all the damn updates out of the way so this didn’t keep happening.
One of the updates listed was a “Feature Update.” It’s the 1803 update for Windows 10. Ok, admittedly I should have known that nothing is free in life, and new features from Microsoft must come at a cost. I just didn’t count on that cost being breaking the Windows installation. What can I say? I was naive.
A few short minutes later and the update was under way, downloading that new features goodness to my SSD. A few “short” hours more and the update was done, and I was presented with the login screen.
I click my name, type in “Password123” and hit enter! New features here I come! But to my disappointment a message pops up saying my password is wrong. How could it be wrong, it’s one of the most popular passwords 10 years running? And I am sure I typed it right. Hmm… So I try again. Nope, same thing.
Ok, now this is starting to look rather suspicious. After trying a few more times I decide to restart the computer. You know what they say about Windows: “When in doubt, restart. When not in doubt, restart anyway. Why not? And when you are tired from all the restarting, get a Mac.”
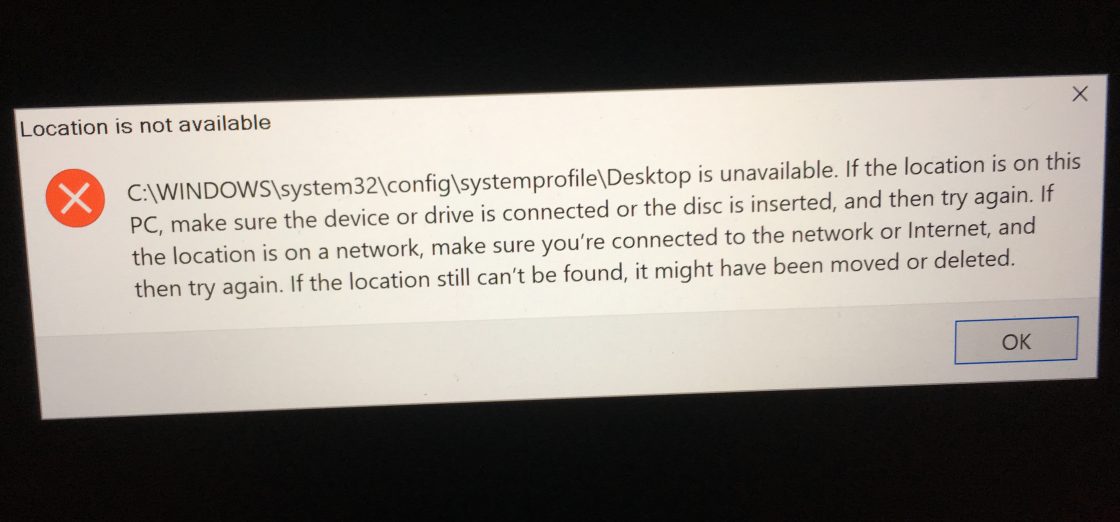
After the restart my login works. Woohoo! See, I knew “Password123” is a great password. But after few minutes of just sitting there preparing windows for use I get greeted with the following message and completely black and blank desktop.

Hmm, that’s not good. Win+R still works, so that’s good. Nothing else does though. Not the start menu, not even the trusty Explorer. So, what’s next?
I used the browse feature Win+R to check that the folder “systempprofile\Desktop” actually exists. Next I dropped into the command line. When in doubt, always drop into the command line. Even if you fail to fix anything, you’ll look cool failing.
In CMD I created a new user, JohnSmith, and added him to the local administrators group. My logic was: maybe the update screwed up my profile somehow, but surely a newly minted profile will save the day. Well, not so much. John Smith didn’t fare any better than I, and was rudely presented with the same “Location is not available” message and blank black screen.
After trying several other things, and Googling for a while I gave up. Clearly the gods of Microsoft don’t want me to have the features of the 1803 update.
Attempt Number 2
However, then a thought started to gain momentum in my head. What if I did something wrong. I know, it’s hard to believe, but stick with me here. I had the Linux subsystem, and a bunch of other stuff installed on the Dell. Plus I cruelly uninstalled Candy Crush Saga that Microsoft wants me to try ever so much. Who knows, maybe that’s why the update didn’t work.
So I headed over to Dell, clicked Support, and selected Downloads. Entered my 9550’s service tag, and was presented with a list of available downloads for my machine. NONE of them was restore media. I don’t know why I even bothered trying that. Of course the restore image for Dell XPS 9550 would NOT be located on the “Downloads” page for Dell XPS 9550. Because ….. logic!
I Googled “9550 Dell restore image” and was quickly taken to a completely different part of Dell’s website where I was able to enter my service tag and download the actual restore image for my exact machine.
Few more minutes and I had a USB hard drive with a restore image on it, and half an hour later I had Windows 10 1709 freshly installed and ready to go on my XPS 9550.
Now, it’s time to do the update! How long can it take? After all, the machine is now like new. It even still has Candy Crush Saga in the Start menu!
Well, after a mere 5 hours of “Initializing,” “Preparing to Download,” “Preparing to Install,” “Downloading,” “Installing,” then, inexplicably, “Preparing to Download” again, and then finally “Installing” again, Windows finally rebooted for the last time and I was back at the familiar login screen.
Click, Password1235 (I skipped 4 this time, for security), enter, and…… wrong password. WTF! Restart, login, and …. black screen and the same damn message!
I tried all of the steps again, no luck. After another hour screwing around with it I gave up and restored the computer from Dell image for the second time in the same day.
Murdering Windows Update
At this point the solution is obvious, Windows Update must die! If i can live with macOS 11, I can live with Windows 10 1709. The only new feature of the 1803 update I got to experience was a completely black desktop. I have to admit, it looks classy, but is it worth the rest of the computer not working? Hmm ….
But how do you kill Windows Update, especially when you are on the Home edition of Windows (AKA, the Microsoft will fuck with you until you break down and buy the license for Pro edition of Windows). Well, you have to kill the Windows update service.
First thing first, you need to grab a tool called WUShowHide from Microsoft. It’s a tool that will allow you to hide some updates from the Windows Update service.
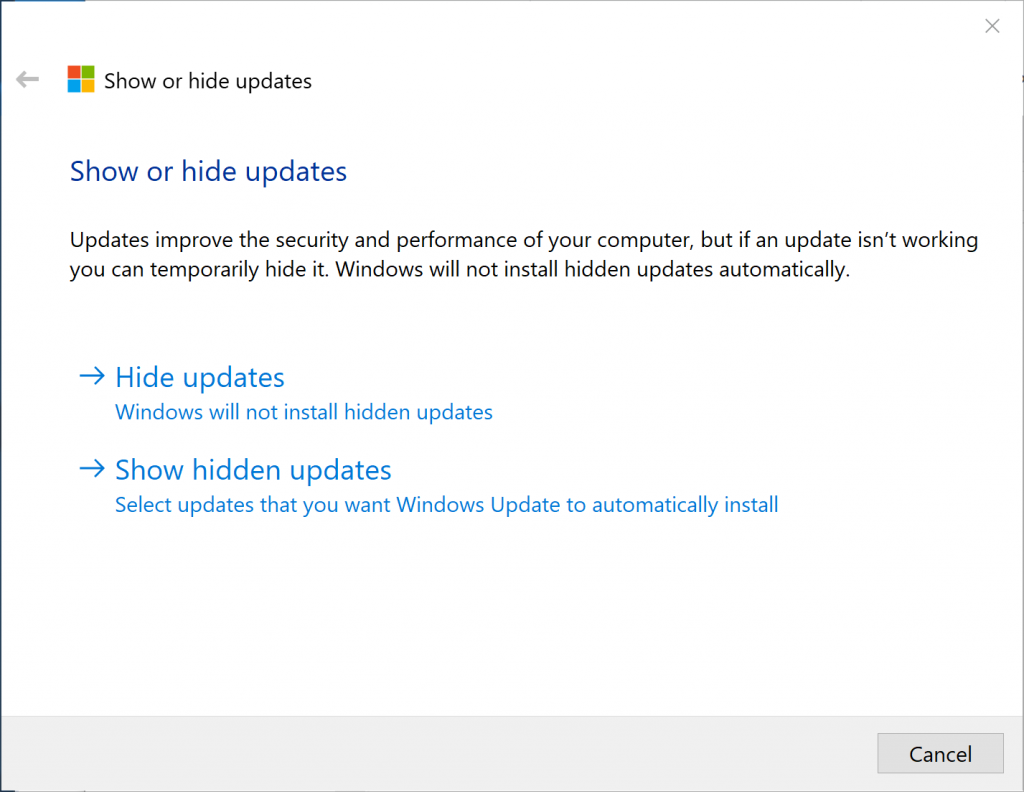
Yes, you read it right. Microsoft updates are so crappy that someone at Microsoft was tasked with creating a tool that can hide those updates. Seriously, you can’t make this shit up. You can’t decline an update, but you can “hide” it.
Run WUShowHide and after it finishes pulling all the latest updates from the internet click the “Hide updates” button. On the next screen you will see a list of updates. Check the checkbox next to the updates you want to block, and hit next. After this it’s best to restart Windows. Remember, when in doubt, always be restarting, because ….. Windows.
In my case I blocked the 1803 Features Update and installed all of the other 1709 security updates to make sure my computer was at least up to date within reason.
{BTW, as a fun aside, not that it really matters for personal use, but 1803 update does not have the Spectre and Meltdown vulnerabilities patched while 1709 does. Again….. because reasons.}
After getting my computer to a good known state it was time to commit a murder. Windows Update had to die. There are several apps that are floating around the interwebs that claim to be able to do this, but all are hosted by exceedingly sketchy websites with no source code available. Now, to be fair, most of what happens on Windows is sketchy, so it’s only fair, but I decided to go the more direct and safer route.
After Googling around a little I was able to find out that 3 services are responsible for Windows Update:
- Windows Update Service (wuauserv)
- Background Intelligent Transfer Service (bits)
- Delivery Optimization Service (dosvc)
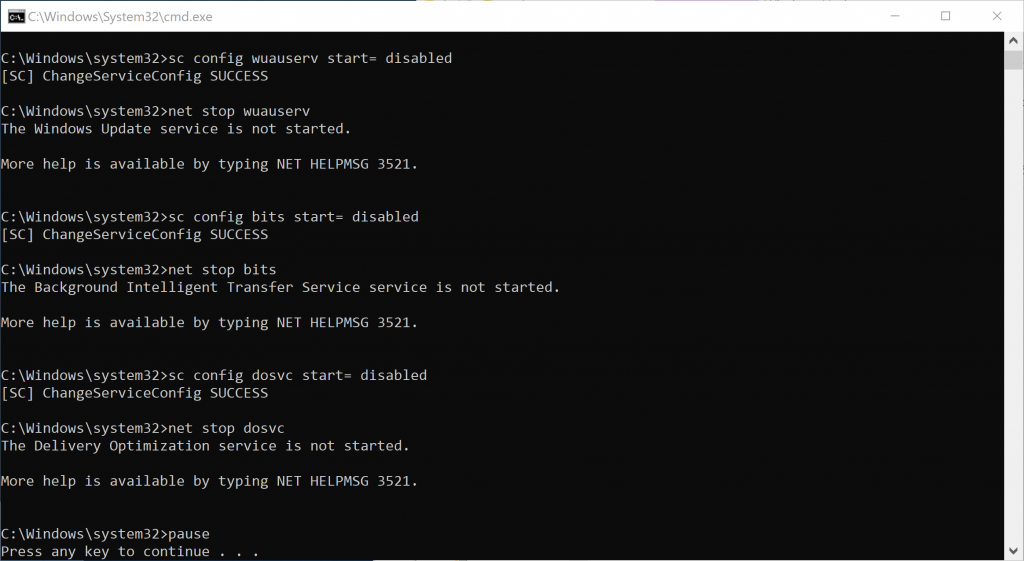
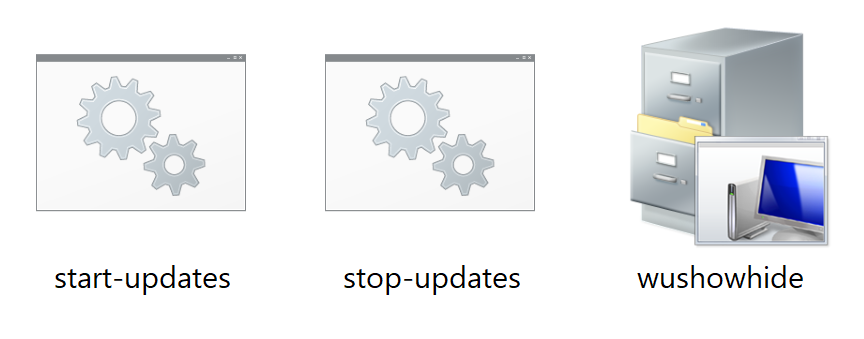
You can disable them from the control panel, but since I may want to turn them on and off on occasion, I decided to write 2 quick batch scripts.
stop-upadtes.bat:
sc config wuauserv start= disabled
net stop wuauserv

sc config bits start= disabled
net stop bits

sc config dosvc start= disabled
net stop dosvc

pause
start-updates.bat:
sc config wuauserv start= auto
net start wuauserv

sc config bits start= auto
net start bits

sc config dosvc start= auto
net start dosvc

pause
Now I can simply right click on stop-upadtes.bat and select “Run as Administrator” and it does all the dirty work for me!
To confirm that that Windows Update is really dead we can go to Settings > Updates and click the check for updates button. After a split second of thinking this is what you should see:
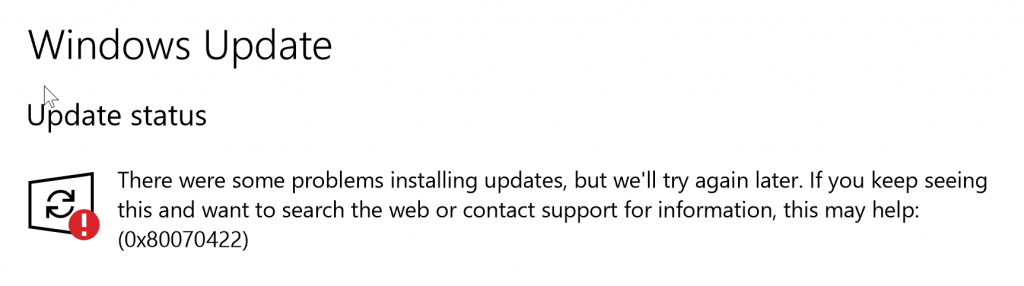
Ahh, what a beautiful sight! No more starting the computer in the morning and staring at the “Working on Updates” screen for 30 minutes. Rest in peace, Windows Update. You sucked at life, and you will NOT be remembered fondly in death. One day I may resurrect you to get a security update or two, but only after imaging my hard drive first. But until then, may you rot in hell!
Update
Use the directions to disable Windows Update in this post at your own risk, your mileage may vary. Keep in mind 3 things.
- Disabling the Windows Update service in this manner will NOT prevent Windows from trying to install the updates that it already downloaded on your computer. Windows doesn’t install updates as soon as they are downloaded. Disabling the service should prevent future updates from being downloaded, but some recently downloaded updates may sneak through.
- Disabling the Windows Update service also prevents you from installing and updating apps from the Windows Store. However, you can turn on the Update Service using the script above, install / update what you need, and than turn it back off again.
- While the procedure above is fully reversible with the turn-on scrip provided, Windows and other apps my react in an unpredictable way to having the Update Service turned off. Please use the instructions at your own risk. I am using them, but I like to live dangerously 🙂
Finally, Microsoft representatives have contacted me about this issue after seeing this article plastered all over HN and apparently Google News service and asked me for all kinds of logs. I provided them all the logs I could squeeze out of the poor Dell 9550. Hopefully they will be able to figure out the issue and fix it so no one else has to go through this mass. I must command them for appearing to be genuinely interested in solving this problem.